This post will catch you up with what it took to prepare the basement floor for the concrete pour, during the first couple of weeks of July. This was more involved and required more problem-solving on our part than we had anticipated!
While most of the gravel had been put in the basement (see previous post), there were still 3 footings for posts to be poured, as well as the footings for the south part of the house that will be slab on grade. Once the footings were done, Eric our excavator added more gravel to the basement to bring the level mostly up to the tops of the footings.
Before the concrete floor could be poured, we had a lot of preparation to do. The first step was to make sure the gravel was as level as possible. In the end, we moved about 6 tons! of gravel (around 65 partly full wheelbarrow loads) to bring is up to level.


It took us around a day and half, and finally, we got the floor level! We were really tired!
The next step was to lay out 4″ thick slabs of extruded polystyrene (XPS) as insulation under the floor. While XPS is not exactly a “green” product, we were able to obtain reclaimed XPS (from buildings that were dismantled). When it comes to energy efficiency AND sustainable building, one is faced with having to make compromises one way or another. Anyway, it was relatively easy to work with and lay out.
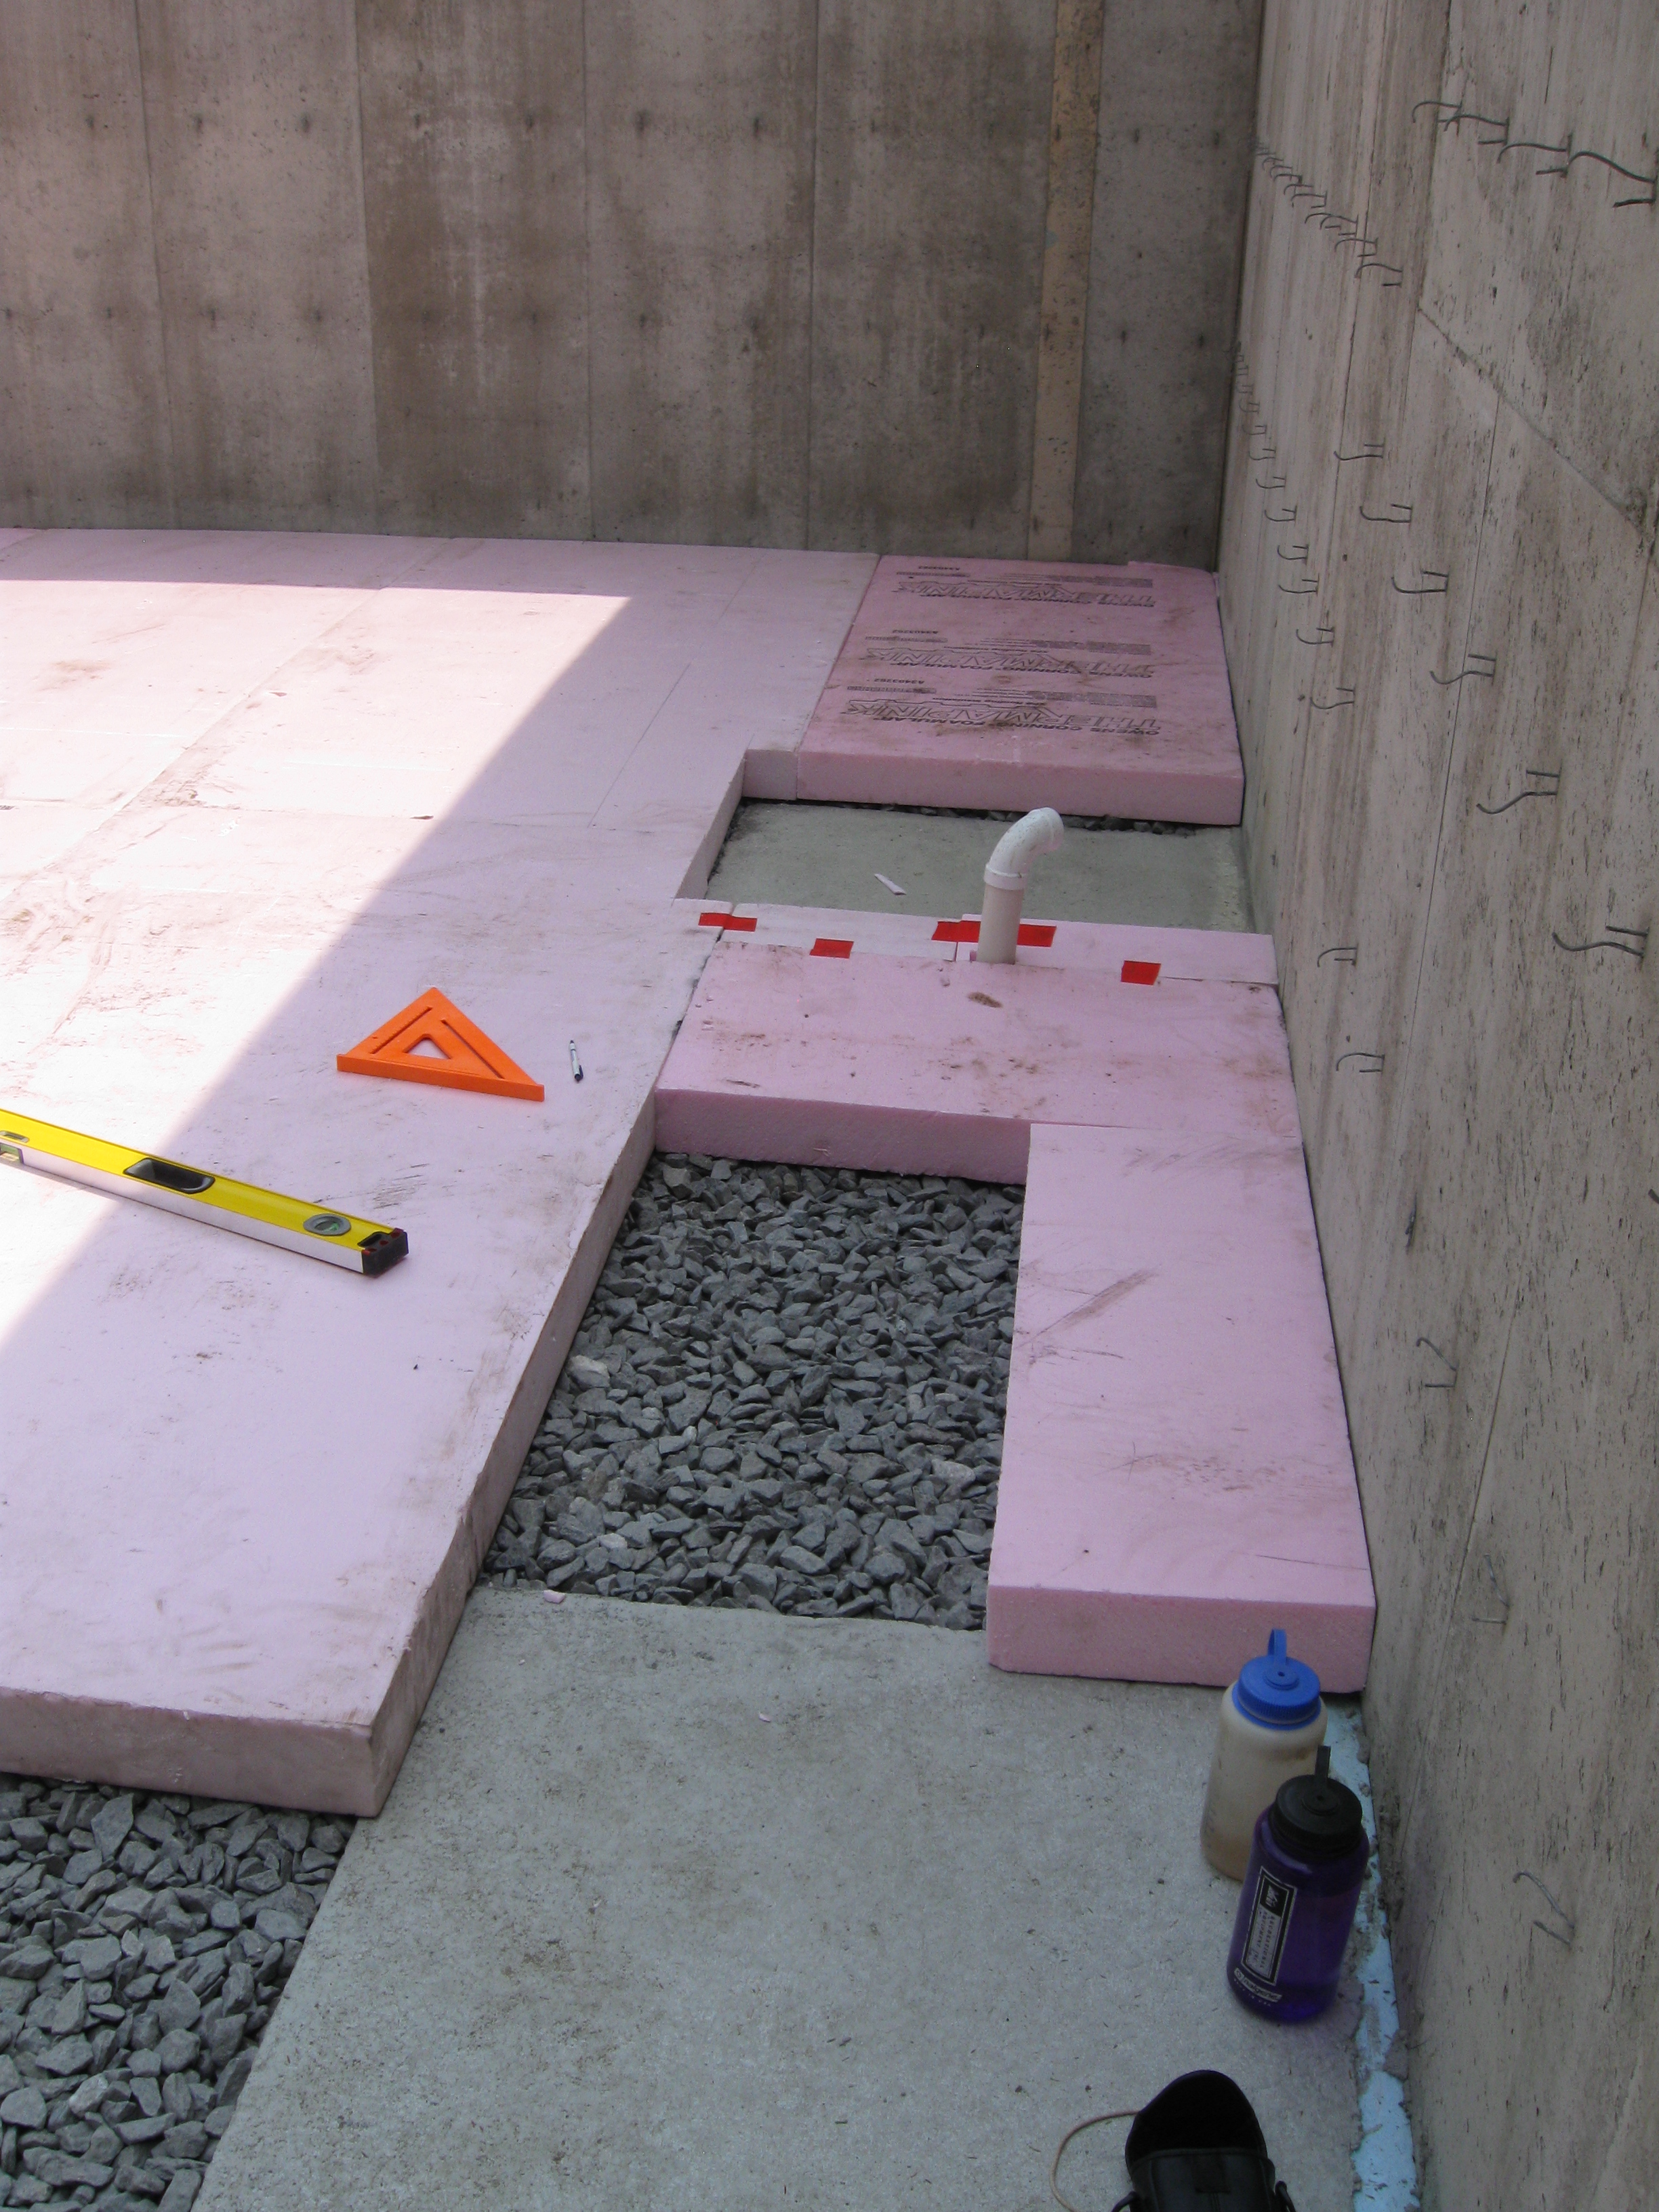
However, the process was complicated by late arriving recommendations from an engineer. Because the posts will be supporting all of the upstairs AND the roof, there was concern about the point loads, especially with 4″ of XPS under the concrete. So the engineer recommended a thinner layer of XPS over the footings. Therefore, we had to cut out the 4″ XPS, and cut other, 2″ thick, XPS to fit. No two footings were exactly the same size so that took awhile. But we did it!
The next step was to cover the floor with a heavy gauge polyethylene, which happened to be bright yellow. We had to cut and fit that stuff for every footing, too, and stick it to the walls with an incredibly sticky double-sided tape! Plus it was an especially sunny day…

This was Monday, July 6. The floor was scheduled to be poured on Tuesday morning, and we were running behind. However, one of the concrete team arrived early afternoon to let us know that the pour had to be postponed until Thursday (due to other jobs and weather), which in the end was kind of a relief. He also brought re-bar, which we had said we could put together if needed. This gave us some time. We mostly finished taping etc., plus preparing a strip of 4″ XPS to go around the perimeter of the basement on top of the polyethylene (a base for future insulation of the inside basement walls). It also rained a lot Monday night to Tuesday morning, so we caught up on grocery shopping etc. on Tuesday.
By this time, we also learned that the engineer recommended grids of re-bar for each of the footings, grids to be 3″ or 4″ squares, 3/4″ from the top of the XPS over each footing. Yikes! Tim and I got to work!

We worked out a system to lay out those 3″ and 4″ grids (22 an 16 pieces of re-bar each, respectively), and then wire every other intersection together. We had wires with a loop in each end, and a hook tool that made it easy to twist up the wire tightly.

The nine grids took us almost all day, and then we had to finish several places with the polyethylene. We also had to lay out and wire the big grid for the whole floor, and we began that around 7pm. That re-bar had to sit up on “chairs” to keep it raised up off the polyethylene, and all had to be wired together, etc. We didn’t finish till 8:30 pm…

We were on site Thursday morning by 7AM, along with everyone else, ready for the concrete trucks to arrive by 7:30!


The result was a beautiful, smooth floor! It truly looked beautiful to us! We were happy that our hard work paid off, none of the XPS “floated” and all the re-bar grids stayed in place.
Amid all the work on the floor, we also got electrical power to our site, which will be very helpful. A load of lumber for the first floor deck arrived. And a wonderful machine called a “telehandler” arrived on site. More about that in the next post.
Oh yes, the Fourth of July happened! We worked most of the day, and then enjoyed the traditional local volunteer fire department’s chicken Bar-B-Q dinner, with all home made pie for dessert!
Meanwhile, we continued to enjoy the birds and the wild flowers. There seem to be a lot of different birds, and they have been singing off and on all day! One we like particularly is the winter wren, whose song is 8 to 10 seconds long, and it (or they?) sing off and on throughout the day. This website: http://www.birdwatchersdigest.com/bwdsite/learn/identification/wrens/winter-wren.php includes a brief description and a recording of the song. This bird is why we named our place “Wren Wood”.
During this time, we started seeing more Black Eyed Susans, as well as the first Queens Anne’s Lace flowers. We also have purple flowering raspberry, and some milkweed!


Wow, Susan & Tim, amazing and hard work! Great photos, and it’s really fun to see the progress and the steps involved in getting it all done!! Love to you both! Ellen & John
Warmly, Ellen
Ellen H. Saul 14781 Bagley Avenue Faribault, MN 55021
LikeLiked by 1 person
I love this…your detain is amazing. I want you to build MY house. Loved hearing the beautiful wren song also.
LikeLike